If you've browsed around my site, perhaps you've noticed my Petz images and wondered how I made them. Or, perhaps you've browsed around other Petz sites, and seen all the cool petz gifs and screenshots and want to make your own. Maybe you're a complete beginner to Petz and webmastery like I was and don't know how to turn your Petz images transparent or make animated gifs.
If so, read on! This guide is for you!
PetzPix
The first step is of course to take a picture or your pet. NOTE: This guide is for Petz 4. I believe things work similarly in Petz 3 and 5, but I don't know for certain.
When playing Petz 4, you can press the space bar at any time to take a picture of the pet you last interacted with. A window will pop up prompting you to name and save the image. The default location is .../Petz 4/PetzPix, but you can save it anywhere you like. By default, the background will not be included in the picture, but you can change this in the options menu. You can also set it to autosave pictures, but be warned! It will only save up to 250 images automatically. To autosave more past that you will need to clear out or rename the old images to make room.
Making Image Transparent
Preparing Background for Removal

This is what your Petz screenshot will look like. It's not bad even with no alterations! However, as you can see it is not transparent, by which I mean it has a white background color. If we make it transparent it will show the background of whatever is behind it. (and if you for whatever reason NEED your image to have a specific solid background color, you can always add it to a transparent image using css)


To make your image transparent, first open the image in a simple image editing program with a fill option, like microsoft paint. Pick a color that isn't present anywhere on your pet, and fill in the white background. In this example, I've picked green.
Make sure you fill in everything you want to be transparent!
When you go to save the image, choose save as either PNG or GIF. Which one you choose comes down to personal preference. PNG will be of a higher image quality and filesize, but the difference is not especially noticable with Petz screenshots. In this tutorial, I will be using PNG.
Turning Background Transparent
The next step is to convert the background color into transparency.
Technically, you don't need to to change the background color at all to do this. However, since the color you would be making transparent would be white, you would likely make things in your image transparent that you don't want to be. Like your pet's eyes.
I will be using an online tool to make my image transparent. This guide is written specifically for https://onlinepngtools.com/create-transparent-png, however any similar tool, online or otherwise, should work.

Upload your image to the transparency creator. It will likely look something like this, which is obviously not ideal.
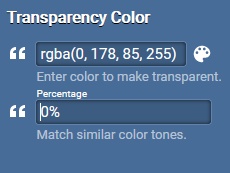
However, all you need to do is click the color you want removed, or use an eyedropper to get the hex code for the color and paste it in the box below. Make sure you set "Match similar color tones" to 0% or you might have some unintended transparent patches.

Now it should look something this! Simply save the image, and now you have a transparent Petz picture that you can put anywhere you like!
And, as promised, once you have this transparent image you can add in any background color you want on the fly with CSS!

Making Animated Gifs
Installing Software
I make my Petz animated gifs using screen recording software, specifically ScreenToGif, which can be found here. This is Windows software, so you will need to find something else if you use a different operating system. No matter what screen recording software you use, the principle should be the same.
Preparing a Recording Studio
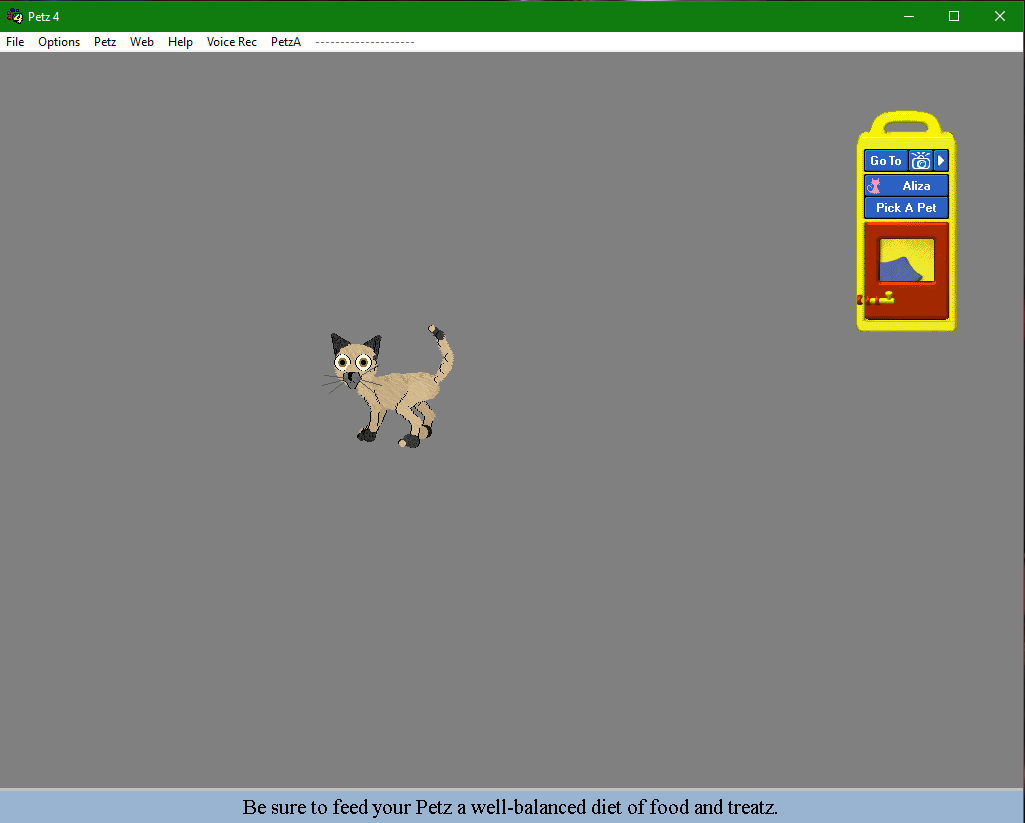
If you want your recorded gifs to also be transparent, you'll need to prepare a recording space with a solid background color. Fortunately, the Petz 4 Playpen exists. If you go into the Petz options, you'll see an option to select different Playpen wallpapers. If you switch to the "Plain" option, it looks like this:
This is already pretty good, but remember, we need a color that doesn't appear anywhere at all on our pet. Aliza has some grey on her, so I'll need to change the background color to something else. Again, I will be using green.
Exit the Petz 4 program and navigate to the wallpapers folder, found here (.../Petz 4/Resource/Wallpapers). Simply open up Plain.bmp in a simple image editing program, fill it in, and save it as a new file. I've saved mine as "greenscreen.bmp". Make as many screen colors as you need, and make more at any time. When you're done, switch to "greenscreen" in the Petz options, and you're good to go!
Recording and Editing Gifs
Whatever screen recording program you are using should come with its own documentation and tutorials, so if you need help, check there first. It will likely have more accurate information than this guide.

Here's a quick walkthrough of the process of making this gif:
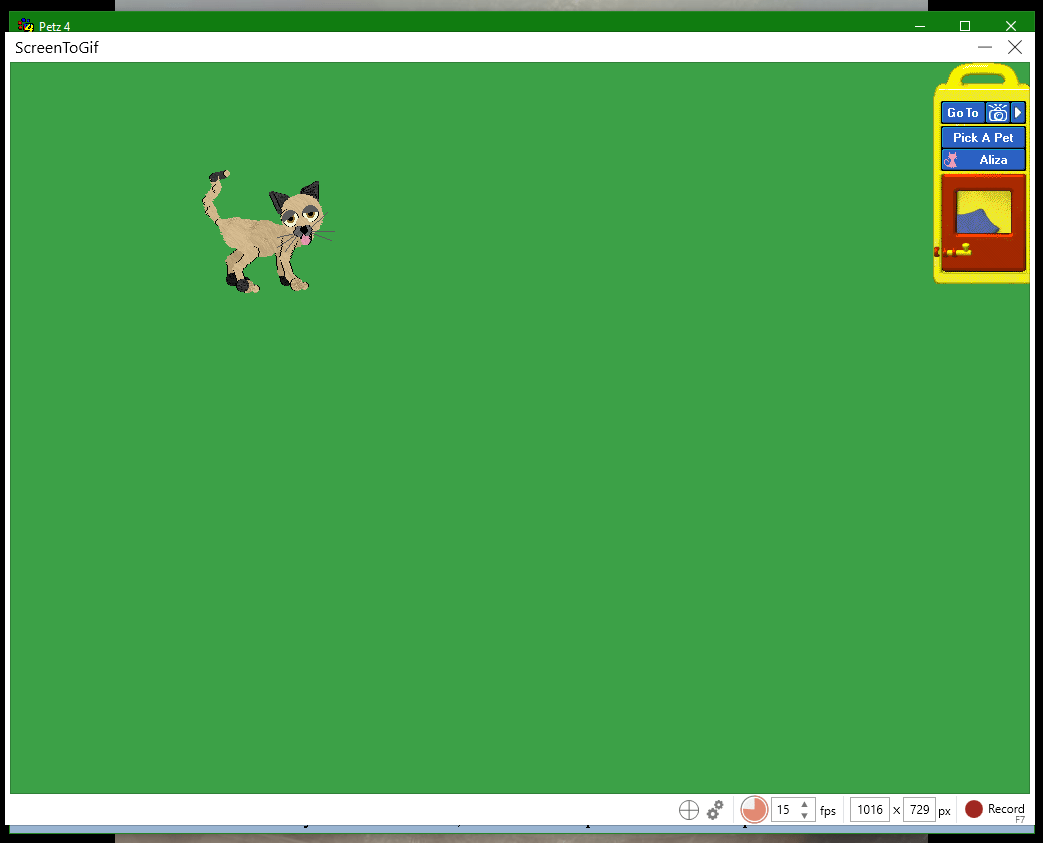
First, I move the Petz carrier as much out the way as I can and position the ScreenToGif recording window to cover the entire Petz window. Then, I wait for Aliza to do something interesting.
TIP: In the capture mode options you can set it to hide the mouse cursor while recording!
She starts to stretch, so I press record. The stretching quickly transitions into her grooming her face, and then she stands still for a while. After a few seconds of standing still, I end the recording. The standing still can actually be very useful to record, since you can use it to help make a seamless looping gif!
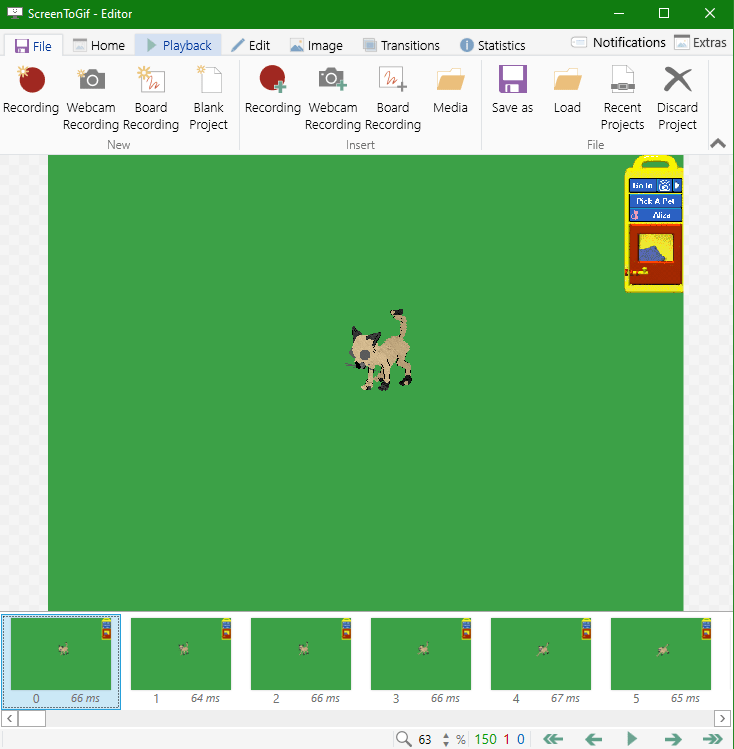
After I end the recording, ScreenToGif enters edit mode, which looks like this:
There are a number of different tabs at the top of the menu. The first thing I want to do is crop out all the empty space, so I switch to the "image" tab and select the "crop" option.
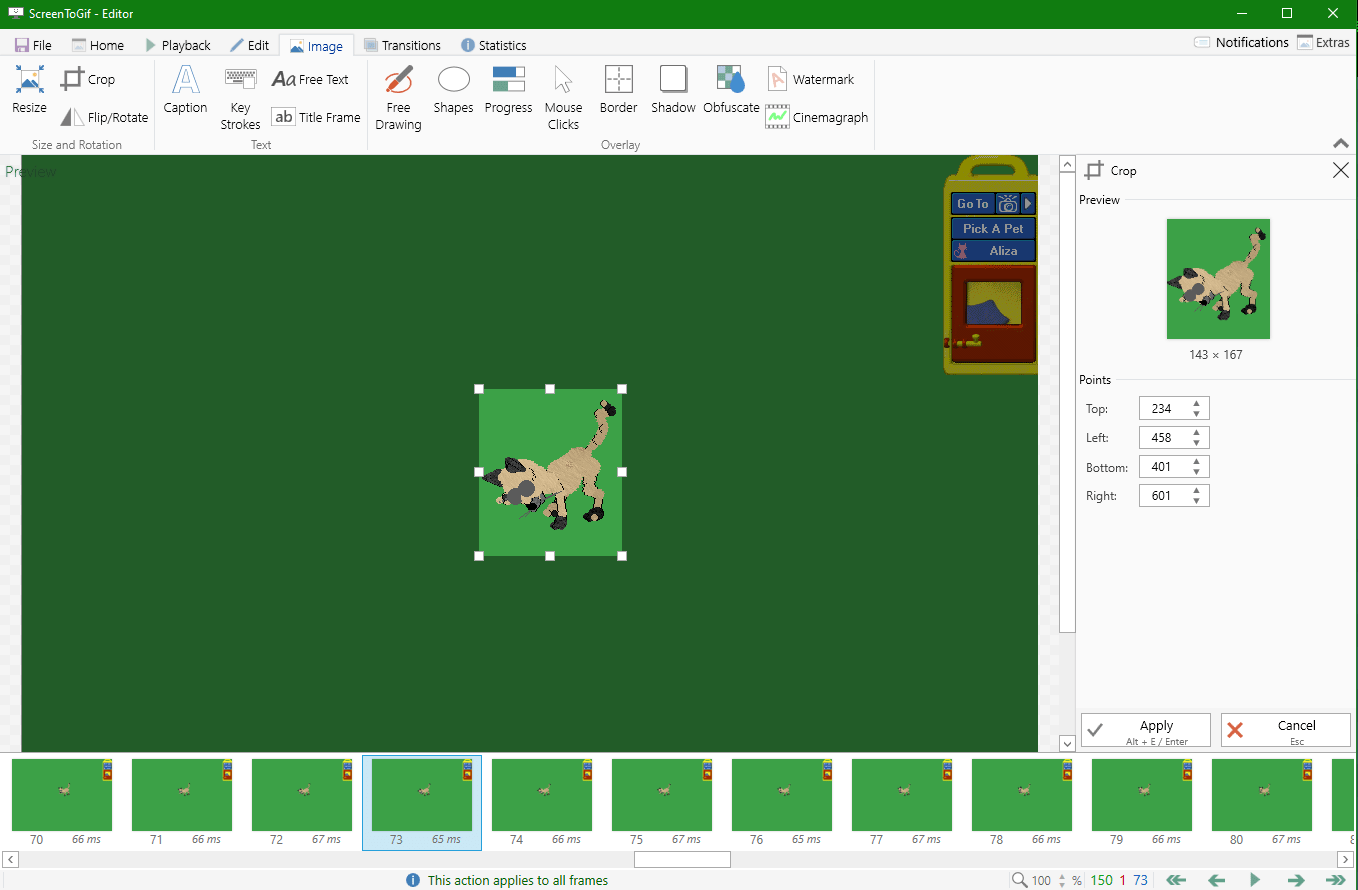
You need to crop out as much as you can to reduce filesize, but make sure to check every single frame! The crop is for ALL frames, and what is just enough for one frame might be too much for another.
TIP: While in crop mode, click a frame and then use the arrow keys to rapidly scroll through them.
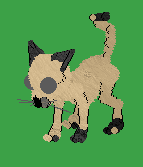
After cropping, if I save the gif as it is with the default settings, it looks like this:
This isn't too bad, but it's a little longer than it needs to be and it isn't transparent. There's also some issues with her tail leaving a trail.
Back in the editor, I switch to the "edit" tab and find a frame of her standing that looks closest to the first frame of her stretching. I then select it, and click the "Delete All Next" option. After reviewing the playback, I think I should have left a little bit more standing animation, but unfortunately I deleted too much and can't undo. Whoops! Oh well, good enough.
Saving Transparent Gif
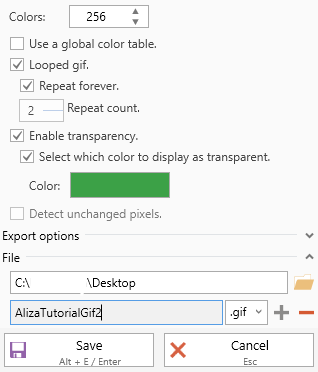
ScreenToGif allows you to make your gif transparent when you save it. Simply check the "Enable Transparency" and "Select which color to display as transparent" options and use the built in color picker to select the correct color. Save your gif, and you're done! Congrats! You've made a transparent animated gif!
If you accidentally save your gif with a background, don't worry. There are online gif transparency tools you can use.
Optimizing Images
Animated gifs can have large filesizes, depending on how large the image is and how many frames there are. You can reduce that filesize by compressing your images. There are a lot of free image compressing services out there, so pick whichever one works for you. I like to use ImageOptim online.
Before compression, the gif we made was 466 kb. After compression, it is 252 kb. If you do this with all your images, it really adds up.